Easy Guide On How To Clean And Replace Vacuum Filters
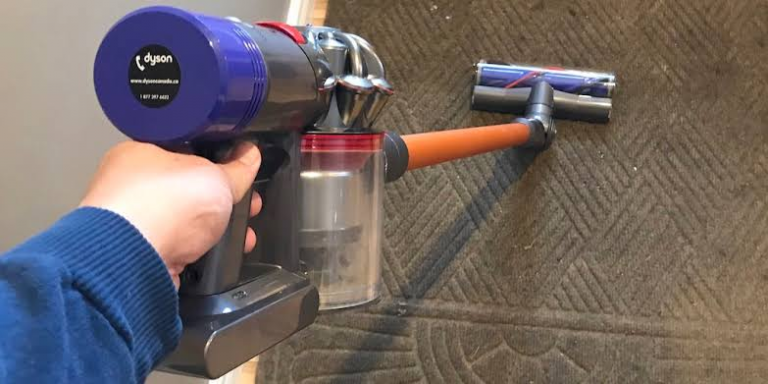
Have you ever wondered how to clean and replace vacuum filters? Well, chances are, it’s begging for a little TLC in the form of a filter clean-up or a snazzy replacement. In the chaotic dance of daily life, our vacuum cleaners silently battle dust bunnies, crumbs, and who-knows-what-else, but what about their filters? They need a little maintenance, too.
So, if you’re tired of your vacuum sounding like it’s on its last breath, join us on this cleaning crusade as we explore the art of keeping those filters fresh and ready for another round with the mess. Get ready for a crash course on ‘How to Clean and Replace Vacuum Filters‘ – your vacuum’s ultimate rejuvenation session! Let’s dive in and give your trusty dust buster the care it deserves.
Vacuum Filters overview
When it comes to vacuum cleaners, understanding the different types of filters is essential for proper maintenance. You may encounter several types of vacuum filters, including foam filters, pleated paper filters, HEPA filters, disposable filters, and washable filters.
⟶Foam Filters
Foam filters are commonly found in many vacuum cleaners. These filters can be cleaned by simply rinsing them with water. After rinsing, squeeze out excess water and allow the filter to air dry before placing it back into the vacuum.
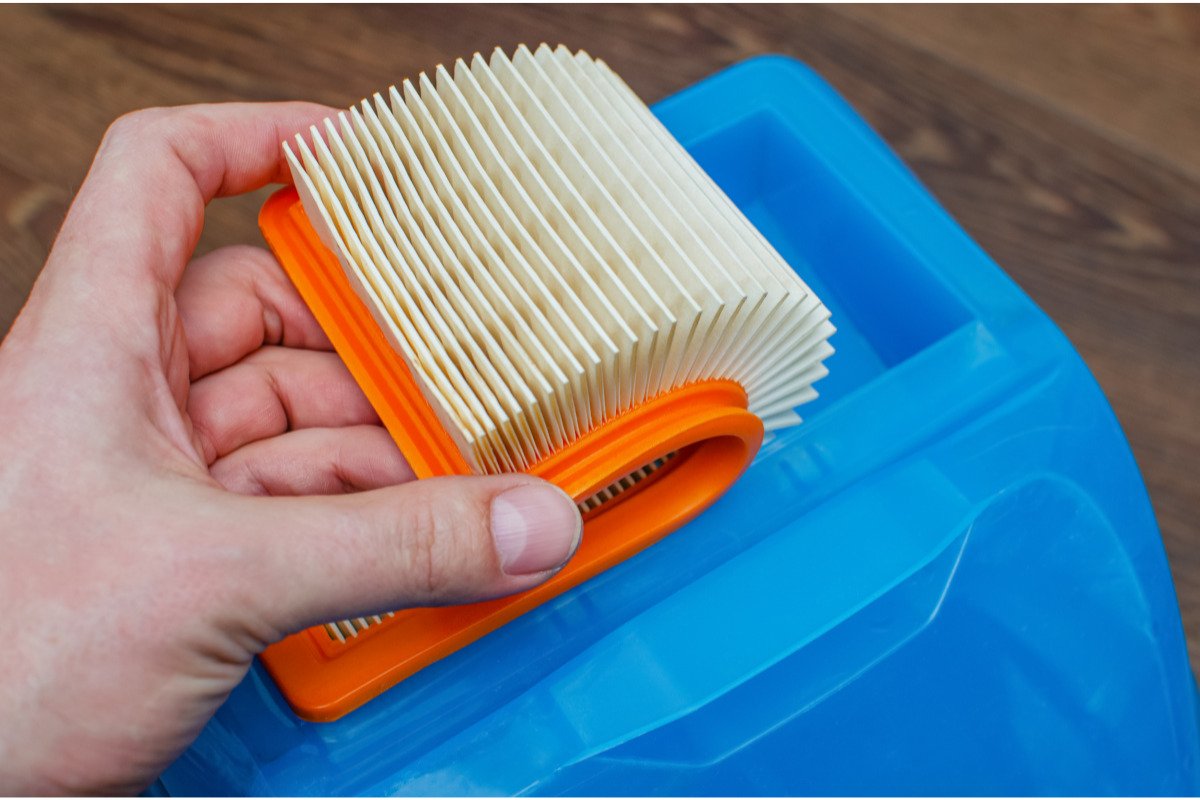
⟶Pleated Paper Filters
Pleated paper filters are usually disposable, but they can also be cleaned multiple times before replacement. To clean a pleated paper filter, gently tap it to remove any dust or debris. If the filter is extremely dirty or damaged, replacing it with a new one is best.
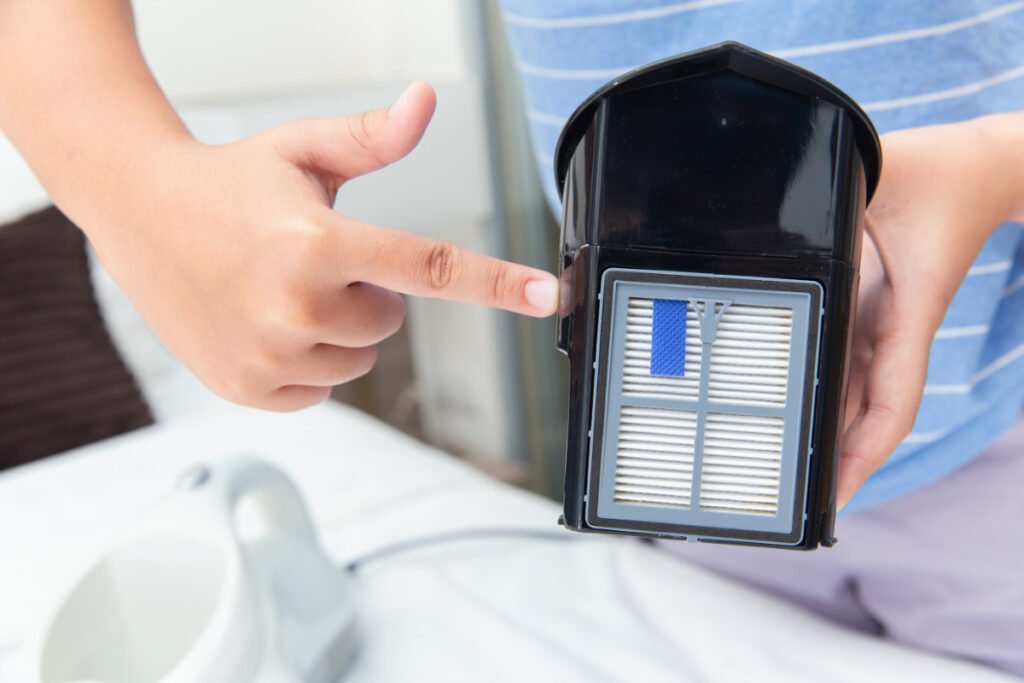
⟶HEPA Filters
HEPA filters are known for their high efficiency in capturing tiny particles and allergens. Unlike foam and pleated paper filters, HEPA filters should be replaced rather than cleaned. When a HEPA filter becomes dirty or clogged, it’s time to purchase a new one to ensure the best performance from your vacuum cleaner.
Understanding the different types of vacuum filters will help you properly maintain your vacuum cleaner and ensure optimal performance. Whether you have foam, pleated paper, or HEPA filters, following the manufacturer’s instructions and regular maintenance will keep your vacuum running smoothly and efficiently.
Tools and Materials Needed
Gather the necessary tools and materials before you start cleaning your vacuum filters. Here’s what you’ll need:
- Cleaning solution: Choose a gentle dishwashing liquid or an all-purpose cleaner suitable for the type of filters you have.
- Hot water: You’ll need hot water to create a cleaning solution and rinse the filters.
- Microfiber towel: This soft and absorbent towel is ideal for drying the filters after cleaning.
- Drying rack: A drying rack will allow the filters to air dry thoroughly.
- Soft-bristled nylon brush: This brush will help remove dirt and debris from the filters.
- Trash can: Prepare a nearby trash can for any excess dirt or debris that may come off the filters during cleaning.
Depending on the type of filters and their condition, you may also consider having disposable gloves and extra filters on hand.
Gathering your tools
Before diving into the cleaning process, gathering all the necessary tools and materials is important. It ensures you have everything you need for a smooth and efficient cleaning experience.
- Start by preparing a cleaning solution. You can use a gentle dishwashing liquid or an all-purpose cleaner suitable for your specific filters.
- Next, make sure you have access to hot water. You’ll need this to create the cleaning solution and rinse the filters.
- Grab a microfiber towel. These towels are great for drying the filters as they are absorbent and gentle on the surface.
- Set up a drying rack. It will provide a stable surface for the filters to air dry after cleaning.
- Don’t forget a soft-bristled nylon brush. It will help you remove any stubborn dirt or debris from the filters.
- Lastly, have a trash can nearby to dispose of any excess dirt or debris that may come off the filters during cleaning.
Now that you have all your tools and materials ready, you’re set to begin cleaning and ensure your vacuum filters are in top condition.
Step-by-Step Guide: How to Clean and Replace Vacuum Filters
Properly cleaning your vacuum filters is essential for maintaining the optimal performance of your vacuum cleaner. Follow these steps to ensure that your filters are clean and ready to go:
①Cleaning Foam Filters:
- Remove the foam filter from your vacuum cleaner.
- Prepare a mixture of warm water and a mild cleaning solution, such as dishwashing liquid.
- Submerge the foam filter in the cleaning solution and gently squeeze it to remove dirt and debris.
- Rinse the foam filter under running water until the water runs clear.
- Allow the foam filter to air dry completely before reinserting it into your vacuum cleaner.
②Cleaning Pleated Paper Filters:
- Remove the pleated paper filter from your vacuum cleaner.
- Gently tap the filter to remove any loose dust and debris.
- Use a soft-bristled nylon brush to gently brush away any remaining dirt.
- If the filter is still dirty or damaged, it is best to replace it with a new one.
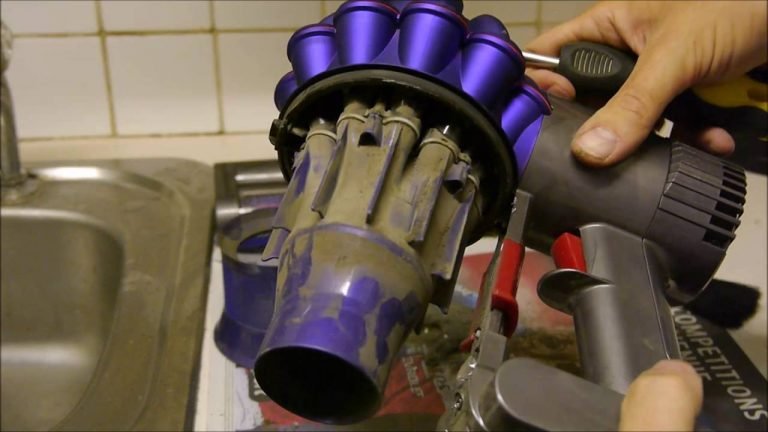
③Cleaning HEPA Filters:
- HEPA filters are not meant to be cleaned but replaced when dirty.
- Refer to your vacuum cleaner’s manual or the manufacturer’s instructions to determine the recommended replacement schedule for your HEPA filter.
- When it’s time to replace the HEPA filter, remove and discard the old filter.
- Insert a new HEPA filter according to the manufacturer’s instructions.
Remember, regular cleaning of your vacuum filters will help maintain your vacuum cleaner’s efficiency and suction power. By following these steps, you can ensure your filters are clean and ready to tackle any cleaning task.
④Replacing Vacuum Filters
Once you have cleaned your vacuum filters, it’s important to know how to properly replace them to maintain the optimal performance of your vacuum cleaner. Here is a step-by-step guide on replacing different types of vacuum filters:
Replacing Foam Filters:
- Make sure the foam filter is completely dry from the cleaning process.
- Locate the foam filter compartment on your vacuum cleaner.
- Remove the dirty foam filter from the compartment.
- Insert the clean and dry foam filter into the compartment.
- Ensure the foam filter is securely in place.
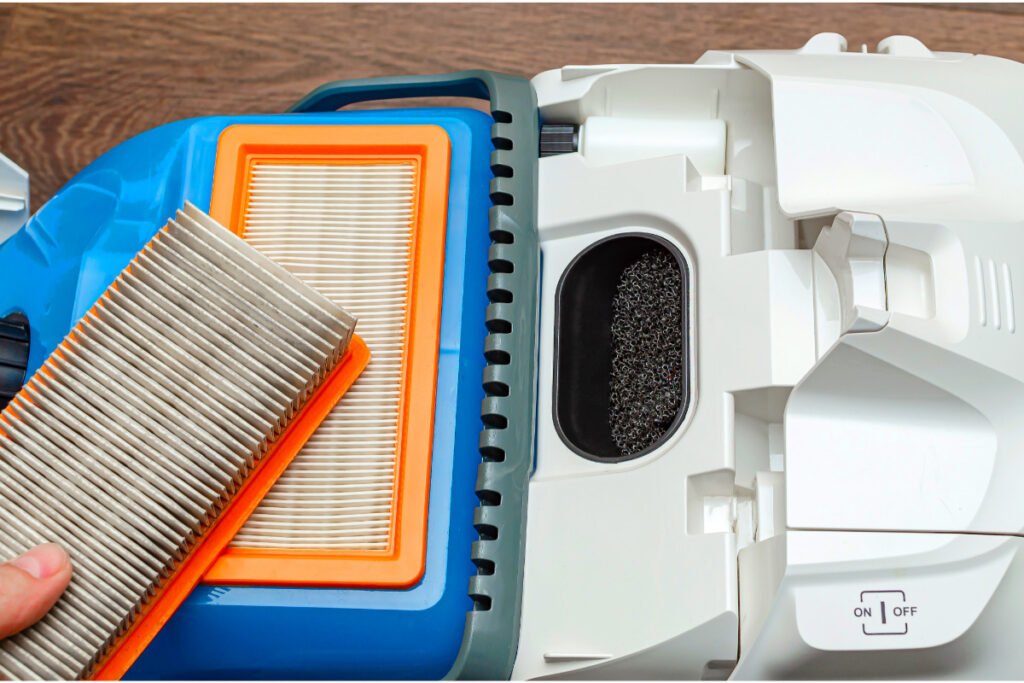
Do Replace the Pleated Paper Filters:
- Check the condition of the pleated paper filter. It needs to be replaced if it is damaged or can no longer be effectively cleaned.
- Locate the pleated paper filter compartment on your vacuum cleaner.
- Remove the old pleated paper filter from the compartment.
- Insert a new pleated paper filter into the compartment.
- Ensure the pleated paper filter is properly aligned and secured in place.
Replacing HEPA Filters:
- Inspect the condition of the HEPA filter. If it is dirty, it needs to be replaced.
- Refer to your vacuum cleaner’s user manual or manufacturer’s instructions to identify your model’s specific HEPA filter replacement.
- Remove the old HEPA filter from its designated compartment.
- Insert the new HEPA filter into the compartment.
- Ensure the HEPA filter is properly installed and secured.
Following these simple steps, you can easily replace the foam, pleated paper, and HEPA filters in your vacuum cleaner, ensuring optimal performance and efficiency.
Tips for Effective Vacuum Filter Maintenance
Regular filter cleaning and maintenance are essential for keeping your vacuum cleaner running at its best. Follow these tips to ensure the longevity and effectiveness of your vacuum filters.
⬤Regular Filter Cleaning:
To prevent dirt and debris from clogging your filters, make it a habit to clean them regularly. Depending on the type of filter, you can typically rinse them with water or use a soft-bristled brush to remove accumulated dust and particles. Check the manufacturer’s instructions for specific cleaning guidelines.
⬤Filter Replacement Schedule:
In addition to cleaning, it’s important to replace your vacuum filters according to the recommended schedule. Over time, filters may become worn out or less effective at trapping particles, which can impact the performance of your vacuum cleaner. Refer to the manufacturer’s guidelines to determine when to replace your filters.
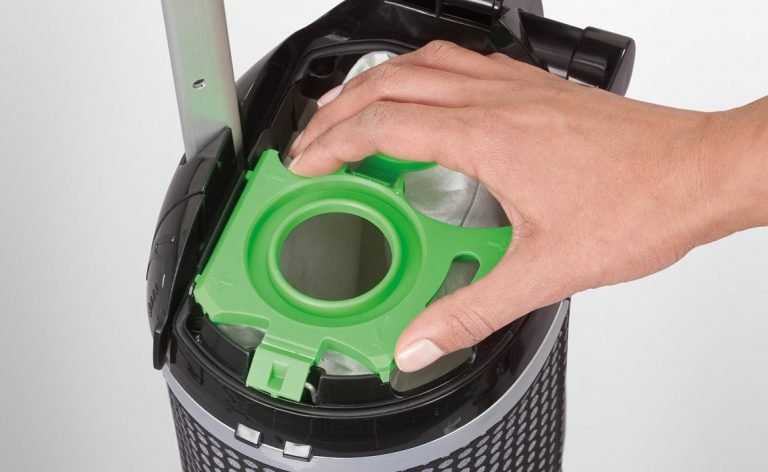
⬤Emptying Vacuum Bags:
Regularly emptying your vacuum bags or dust canisters is crucial for maintaining proper airflow and suction power. A full bag or canister can strain your filters and reduce the overall efficiency of your vacuum cleaner. Empty them when they are about 75% full to prevent any loss of suction.
⬤Cleaning Appliance Vent Covers:
Appliance vent covers can accumulate dust and debris, which can find their way into your vacuum filters. After each use, take a moment to clean the vent covers using a soft cloth or a brush to remove any clinging dust. It will help prevent particles from entering and clogging your filters.
By following these simple maintenance tips, you can keep your vacuum filters clean and ensure your vacuum cleaner continues performing at its best. Regular filter cleaning and replacement will not only extend the life of your vacuum but also keep your home clean and fresh.
Troubleshooting Common Vacuum Filter Issues
If you’ve noticed reduced suction power or a stale odor from your vacuum cleaner, the likely culprit is dirty filters. Clogged filters can significantly impact the performance of your vacuum, causing it to lose suction and emit unpleasant smells. To address these issues and ensure your vacuum cleaner’s optimal functioning, troubleshooting and resolving common filter-related problems is important.
❗Reduced Suction Power
Reduced suction power is a common issue when vacuum filters are dirty. Over time, dust and debris accumulate on the filters, obstructing the airflow and diminishing the vacuum’s ability to pick up dirt effectively. To resolve this problem, start by cleaning or replacing the filters, depending on their type. Refer to the manufacturer’s instructions for guidance on proper filter maintenance.
❗Stale Odor
Another telltale sign of dirty filters is a stale odor from your vacuum cleaner. When filters are clogged with dirt and debris, it can result in unpleasant smells circulating throughout your home during vacuuming. To combat this issue, thoroughly clean or replace the filters, ensuring that you remove all trapped dirt and debris. It will help eliminate the odor and leave your home smelling fresh and clean.
❗Filter Clogging and Motor Stress
When vacuum filters become clogged, it puts additional stress on your vacuum cleaner’s motor. It can lead to overheating and potential damage to the motor over time. To prevent filter clogging and reduce motor stress, clean or replace the filters regularly. Doing so will maintain optimal airflow, prevent filter blockages, and ensure the longevity of your vacuum cleaner’s motor.
Maintaining a Clean Vacuum
In addition to cleaning and replacing vacuum filters, there are other steps to maintain a clean vacuum. By following these tips, you can ensure that your vacuum performs optimally and keeps your home fresh and clean.
✔️Clean the Brush Roller
The brush roller on your vacuum cleaner can easily become clogged with hair, dust, and debris, hindering performance. To clean the brush roller, remove it from the vacuum and use scissors or a seam ripper to carefully cut and remove any tangled hair or fibers. Once clear, use a damp cloth or a soft brush to scrub the roller gently to remove any remaining dirt. Allow it to dry completely before reattaching it to the vacuum.
✔️Clean the Vacuum Hose
The vacuum hose is another area that can accumulate dirt and debris, leading to reduced suction power. To clean the hose, detach it from the vacuum and use a long brush or a straightened wire hanger to remove any blockages. You can also run water through the hose to dislodge and flush out any stubborn dirt. Allow the hose to dry thoroughly before reattaching it to the vacuum.
Frequently Asked Questions
Can I wash my vacuum filter, or must I replace it?
You can wash it! Most filters are washable. Give it a good rinse under cool water, let it dry completely, and it’s ready to roll. Ensure your filter’s type is wash-friendly, like a superhero cape that can handle water.
Can I use household items to clean my vacuum filter, or do I need special products?
No need for fancy stuff! Think everyday superhero tools. A soft brush or a gentle shake can do wonders. If you’re feeling extra, a little soap and water can work, too. Keep it simple, like giving your filter a quick superhero dust-off.
Where can I buy replacement filters for my specific vacuum model?
Easy peasy! You can find them online or at your local store. Check with the manufacturer or look for your vacuum’s model number. It’s like finding the perfect sidekick – just make sure it matches, and you’re good to go!
How do I know if my vacuum filter is compatible with wet and dry cleaning?
Check the manual – it’s your hero’s guidebook! Some filters are versatile and can handle both wet and dry messes. Others prefer staying dry. Know your filter’s superpowers to avoid any soggy surprises.
Is it necessary to turn off my vacuum before removing or replacing the filter?
Safety first! Think of it as giving your vacuum a quick power nap. Turn it off before any filter action. Keeps things smooth and avoids unexpected vacuum rumblings.
What do I do if my vacuum still smells after replacing the filter?
Oh no! Time for a fresh start. Check for hidden messes, like forgotten crumbs or a lurking pet surprise. Give your vacuum a sniff test without the filter – if it smells fine, the filter might need a wash. If the smell lingers, it’s detective time to uncover the source of the mystery scent!
Final Words
In conclusion, maintaining a clean and efficient vacuum filter is essential for ensuring optimal performance and prolonging the lifespan of your vacuum cleaner. Regularly cleaning and replacing filters improve suction power and contribute to a healthier indoor environment by trapping dust, allergens, and other particles.
By following the simple steps outlined in this guide, you can effortlessly enhance the effectiveness of your vacuum, resulting in a cleaner and fresher living space. So, don’t overlook the significance of proper filter care—make it a routine to keep your vacuum operating at its best, ensuring a cleaner home for you and your family.