How to Repair a Clogged Garbage Disposal in 6 Easy Steps?

Want to know about how to unclog a garbage disposal in easy ways? Follow the necessary step by step guide to unclogging those obstructions effectively.
Garbage disposers or disposals can be subject to some common issues. They can obstruct when the objects bind the impeller blades inside the appliance. The drain connection can loosen and cause leakage problems under the sink. Or the drain attachment of the garbage disposer to the sink drain trap can become clogged and cause the stoppage of passing water.
Even if you are cautious about what you are putting down the garbage disposal, clogs can still happen. You can do some necessary things to keep clogs minimum and cautions when that inevitable clog happens. It pretty much gives your worry when the clog occurs, and you think about how to unclog a garbage disposal.
Read More:
- Master The Art Of How To Vacuum Mattresses And Pillows
- Master How To Vacuum Stairs Efficiently: Quick, Handy Guide!
- Can Robot Vacuums Be Hacked? Discover The Facts!
- Why Is My Robot Vacuum Beeping? Find Out Here!
- Easy Guide On How To Clean And Replace Vacuum Filters
Causes of a Garbage Disposal Clog
Garbage disposal mostly has not to do with grinding the most food waste but is what happens after the grind that causes clog or obstruction issues. Frequently this has to do with how the ground food waster reacts to water, and the disposal unit mash that up and sends it to the drain line.
When the garbage disposer clogs, you will often find the issue in the drain trap situated over the waste discharge side of the disposal. Disposals can also back up over time as the trap of the waste line gets coated and obstructed with food waste. If your disposal is draining slowly or not at all, the issue is mostly the drain trap.
The U-shaped plumbing fitting is located downstream of the disposal discharge pipe. Here are the most common problems of garbage disposer clogs that you should know before you know about how to unclog a garbage disposal.
- Lack of flushing water: If you do not put enough water for disposal when it is grinding, then it is a sure way you will get a clog. Insufficient water supply can not pass the waste get flushed through the pipes, expanding buildups. Once a full blockage of garbage and debris happens, water can not pass.
- Grinding up eggshells or coffee grounds: These materials are one of the major trouble you may think of. The eggshells and coffee grounds make minimal granular waste that can stick to any sludge found in the pipes, rapidly becomes clog or obstruction.
- Grinding potato peels: Potato wastes are well-known clog makers. They form a starchy paste near mashed potatoes that will clog the drain eventually.
- Grinding banana peels: It is a similar issue to potato wastes, except they add stringy fibers to the disposal to make clog.
Determining the Source of the Clog
Before you start on how to unclog a garbage disposal, you should first find the clog’s main source. Here are the possibilities you can see,
Turn Off Disposal
Before you do anything with the sink and disposal, be sure to check that you have shut off the disposal to prevent any type of accident or injury.
- You do not require to cut the power to your disposal, yet you are at only to see if there are any material that is clogging the drain.
Avoid sticking anything in the drain until you cut the power lines. After that, look underneath the
- sink and be sure to unplug the disposal. For older disposal, you may need to turn off the fuse box to cut the power.
Determine what’s causing the clog
Use a flashlight to check for a clog in the drain. It all depends on what type of blockage you see, and you will be able to decide what tool you required to remove the clog,
- If you believe your disposal is clogged with something other than food, then do not run the water flow and try to unclog it with the same step you will do with food waste. If it is a valuable object like a ring, you should immediately call for a plumber to safely recover the ring.
- If the clog has expanded over time, it is mostly because there is too much food waste or debris sticking to your pipes. The water could not flush it down to the disposer. You might be required to plunge the sink.
Manually Rotate Your Blades to Try Breaking Up Clogged Materials
For instance, you may need to observe that your disposal is clogged under your sink. You may require to run the disposal manually to move the clog,
- Manually rotate the blades on your disposer will assist you in finding where the clog is located.
- That procedure is helpful to smash some of the debris. Manually turning those blades lets the blades move steadily and avoid getting stuck on the disposal easily.
- In this method, use an Allen wrench to turn the blades manually. You can usually get the manual operator at the base of the disposer.
- Put the Allen wrench and rotate the blades manually or clockwise. In that way, it will allow the clog to slowly breakdown.
- Always see the manual instruction when you turn the blades to go. Also, do the work of how to unclog a garbage disposal.
Read More:
- Master The Art Of How To Vacuum Mattresses And Pillows
- Master How To Vacuum Stairs Efficiently: Quick, Handy Guide!
- Can Robot Vacuums Be Hacked? Discover The Facts!
- Why Is My Robot Vacuum Beeping? Find Out Here!
- Easy Guide On How To Clean And Replace Vacuum Filters
Do not Pour Chemicals Over a Garbage Disposal
Unclogging the obstruction of a kitchen sink is different than unclogging the garbage disposal. If you use chemicals to unclog a drain, it can damage your garbage disposals plastic parts.
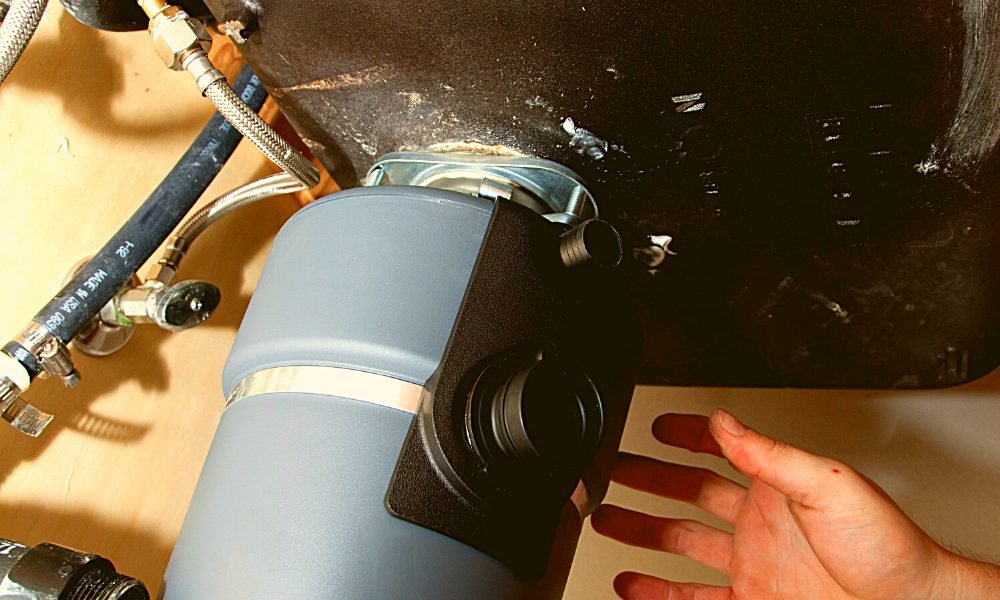
Turn Off the Electric Lines to the Garbage Disposal Completely
If you have set on that, you must manually pull out debris from disposal and turn off the switch. Then shut the power off the disposal from the power box, that is because if the button is faulty.
- You can go underneath your sink and unplug the real disposal unit. That will also make sure that nothing accidentally goes on.
- If the disposer is attached to the dishwasher, use a clamp to tighten it and pinch the drain line’s flexible component. That makes sure that no wastewater flows back to the dishwasher cabinet.
Cleaning the P-Trap
After determining the cause, now you need to find out how to unclog a garbage disposal in easy steps,
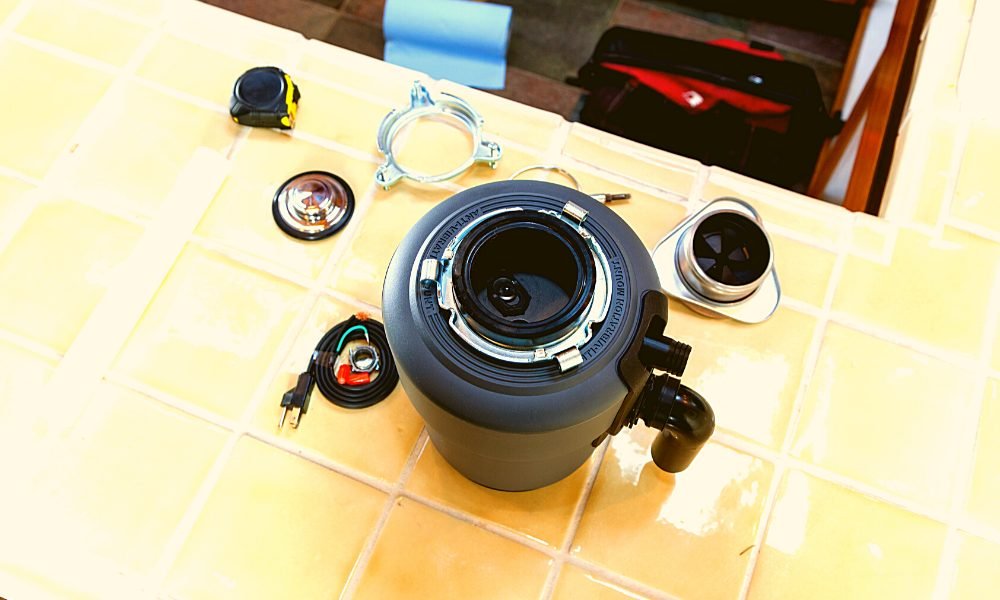
1) Remove the P-Trap
Your garbage disposal pipe is attached with a pipe that is named P- or S- trap. The line that looks like a P or S behind your disposal unit simply connects with the back wall of your cabinet. Put a catch bucket under the disposal drain trap. Use channel-type pliers to detach the slip-nut fittings on the drain trap and pull out the trap. As you disconnect the pipes, water can often come spilling out. The trap will be full of water waste, debris, and dirt, so be careful about that and dump that in the bucket. To get your disposal correctly, you need to clear the pipe entirely.
2) Clean the Trap
Check for clogs or obstructions that are stuck on the trap fitting of your pipes. Most often, clogs can take place in the sharp bend of the trap. Use a small scrub brush as it is the most effective way to dig out any debris or dirt. You can make use of a hanger or other wire to pull out the clogged material.
3) Check the Trap Arm
If the clog or obstruction is not in the trap, it may be in the trap arm. The drain piece attaches the trap to the section of the drainpipe going into the wall. You can detach the trap arm by loosening the slip nut where the arm connects the vertical branch drain and pull off the arm. Clean the interior of the trap arm with a brush or wire.
4) Snake the Branch Drain (as Needed)
If you find the P-trap arm is relatively clean when you remove them, then the clog issue is in the branch drain leading to the home’s main drain. The ideal way to clean up the line is using the drain snake or auger. A 25 feet drum auger (sold in home improvement stores or hardware stores) usually does the trick better.
Give the auger cable into the branch drain underneath the sink, rotate the drums you go for, work the cable past pipe bends, and smash up the clog. Run the cable back and forth throughout the drain a few times to ensure the clog is cleared.
5) Reassemble the Drain
Re-set up the trap arm and P-trap, and tighten up the slip nuts just comfortable. Check every position of the pieces, and be sure the trap arms slope descending slightly toward the branch drain. When everything is in place, then tighten up the nuts all the way with your hand. If required, use pliers to tighten them up a bit further. Be cautious as you should not over tighten it, or else it will damage the nuts or threads.
6) Flush the Drain
Run the water from the tap through the disposal for some minutes to flush any remaining loose debris through the drain system. When you are sure the drain is working correctly, you can also do a bigger flush by pouring a bucket of water or putting a stopper over the disposal opening. Fill up the sink basin with warm water and quickly pull out the stopper to flush out the pipes and remove the clog materials.
Read More:
- Master The Art Of How To Vacuum Mattresses And Pillows
- Master How To Vacuum Stairs Efficiently: Quick, Handy Guide!
- Can Robot Vacuums Be Hacked? Discover The Facts!
- Why Is My Robot Vacuum Beeping? Find Out Here!
- Easy Guide On How To Clean And Replace Vacuum Filters