The Easiest DIY Way to Paint Your Kitchen Cabinets like A Pro

If you have to work in a kitchen that has old and worn out cabinets, and years old décor, the chances of your food turning out bad, it is not always the case, but it can be.
Nobody likes to work in a kitchen that is old and consists of cabinets that feature faded and worn out paint.
Revamping the kitchen to enhance its look is a smart option, but not everyone has the finances to accommodate such a significant expense. If you feel like your unimpressive kitchen is affecting your cooking skills, you need to start with something small that you can do it yourself.
Why not start with painting the kitchen cabinets? DIY-ing has become so common today. You can make painting the cabinets your DIY project!
The Tools You Need
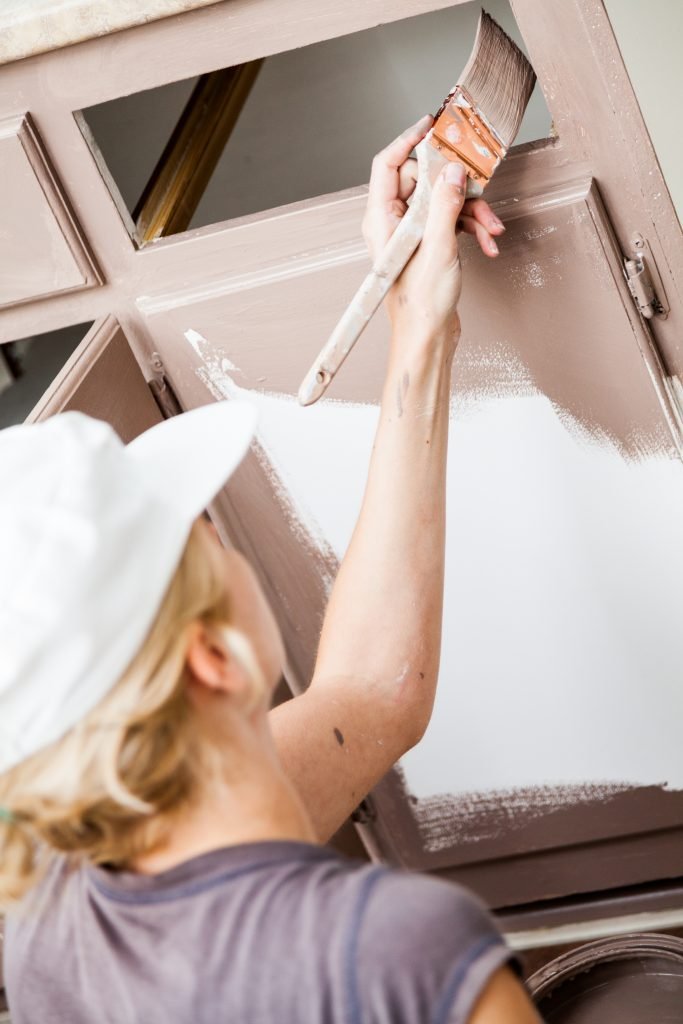
Before you start painting, you need to gather all the tools and the materials that will help you with your DIY project.
•Sandpaper
•Brush
•Pencil
•Rubber gloves
•Foam roller
•Painter’s tape
•Paint pan
•Milk paint
•Screwdriver
Painting the Kitchen Cabinets
Now that you have gathered all the tools and the material, it is time to start with the DIY project. If you follow this guide, you will be surprised to see the results!
Step 1: Choose the Right Color
The first step of the process is to choose the right shade of paint. You might want to consider the present theme as you will have to paint the cabinets in accordance with it. However, this is isn’t a compulsion, as you can choose to change the theme of the kitchen. White is the most commonly chosen paint as it gives a neat and clean look to a kitchen.
Step 2: Disassembling the Kitchen Cabinets
After you have chosen the color of the paint, you may proceed further and start disassembling the kitchen cabinet doors. If you have concealed hinges, there is no need to remove the doors of the cabinets. You can use a screwdriver for this purpose.
Step 3: Sanding
The first and fundamental step of painting is to sand the surface of the object that you wish to paint. Many people miss out on this step as they think it is not of much importance. The sanding procedure will ensure that your paint adheres to the surface of the cabinet and does not give a rough look to it.
Step 4: Apply Painter’s Tape
If there are some areas of the cabinet doors that you do not want to paint or if you’re going to apply a different shade of paint to it, you may use painter’s tape. A painter’s tape protects the areas that one does not wish to paint.
Step 5: Start Painting
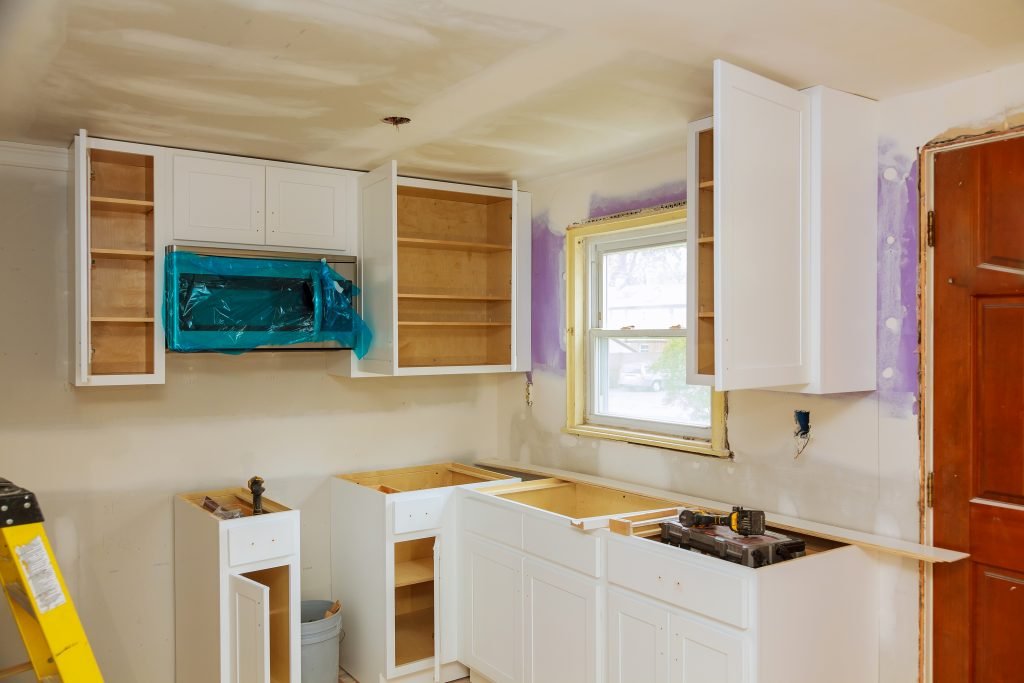
Before you start using the roller, you must use the small brush to paint any depths or crevices in your cabinet’s design. After you have painted the complex edges, crevices, and depths, the next step is to pick up your foam roller. Apply the milk paint to the cabinet using the foam roller.
Step 6: Let it Dry
After you are done painting, keep the painted cabinet doors in a place that will help in its drying. Make sure you do not keep it outside as dust, and other foreign particles may get attached to the wet paint. Leave it overnight, and allow the paint to dry and adhere well to the surface.
After the paint has all dried up, you can start assembling the cabinet doors. Enjoy working is a beautiful kitchen, and do not let the ugly-kitchen kill your cooking vibes!

